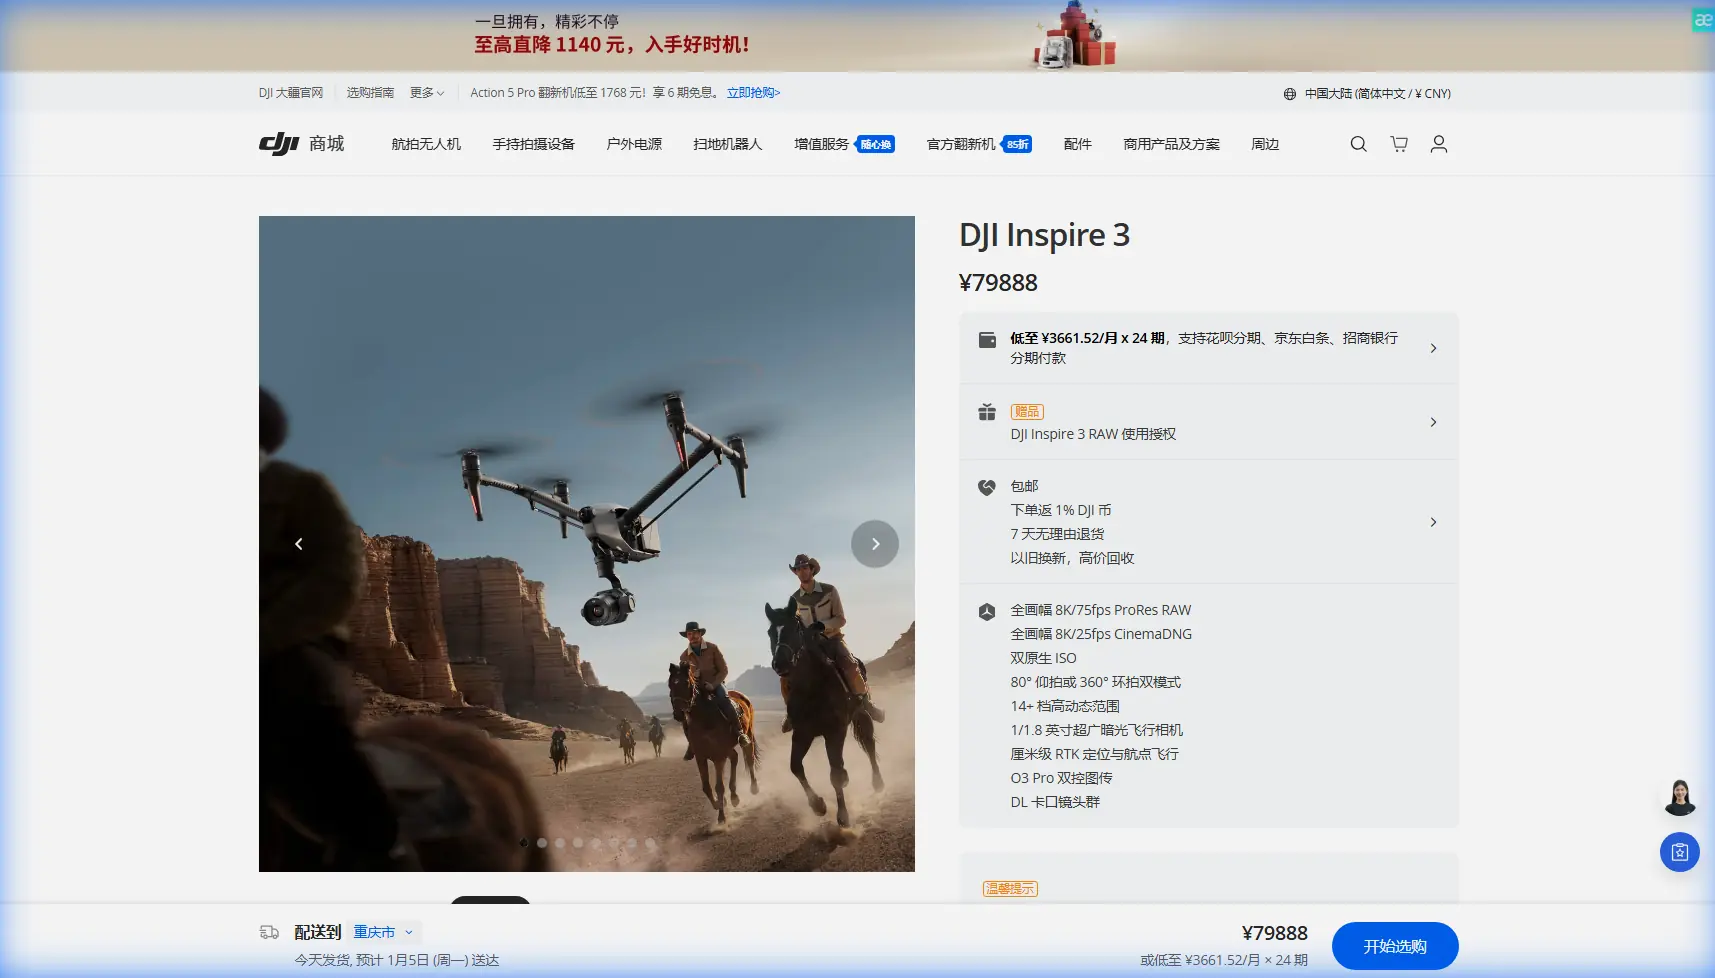
Inspire 3 for Dusty Coastline Inspections
Inspire 3 for Dusty Coastline Inspections: A Field Method That Prioritizes Reliability
META: A practical expert tutorial on using Inspire 3 for dusty coastline inspection missions, with a focus on reliability, environmental stress, transmission integrity, hot-swap workflow, and data capture discipline.
Coastline inspection looks simple from a distance. Fly the route, collect imagery, note erosion, document structures, head home. In reality, coastal work is one of the more punishing civilian environments you can put a UAV system into. Dust from dry access roads, salt in the air, glare off water, uneven landing zones, and long linear corridors all combine to expose weak habits fast.
That is exactly why the Inspire 3 deserves to be discussed from a systems perspective rather than as a camera platform alone.
If I were building a repeatable inspection workflow for dusty coastal assets with the Inspire 3, I would anchor the entire operation around two ideas drawn from classic aircraft systems thinking: first, measurement only matters if the instrument remains trustworthy in harsh conditions; second, reliability is not a slogan, it is designed, tested, screened, and maintained. Those principles show up clearly in the reference material, and they map surprisingly well to how a professional Inspire 3 team should work in the field.
Why dusty coastline inspection is really a reliability problem
Pilots often focus on payload choice, frame rate, or route planning first. For coastline inspection, those matter, but they are downstream from reliability. The old avionics reference material highlights a blunt truth: aircraft systems are built around measurable operating ranges, warning thresholds, and subsystem selection. One example in the source is a fuel quantity architecture with specific measurement spans such as 0 to 4000 kg for one indicator class and low-quantity warning points like 500 L or 353 L on others. Another source reference discusses reliability design through redundancy, derating, environmental testing, and environmental stress screening.
Those are not trivia points. They are the backbone of disciplined operation.
Translated into an Inspire 3 inspection mission, this means your planning should revolve around known operating margins, early warning cues, and component stress management. In dusty coastal environments, crews that ignore this tend to lose time not because the aircraft lacks capability, but because the workflow lacks engineering discipline.
Build the mission around margins, not assumptions
The Inspire 3 gives you the kind of operational smoothness professionals need for corridor work: stable flight behavior, strong imaging options, O3 transmission, and a battery system that supports hot-swap turnarounds. But none of that removes the need for margin planning.
On a coastline inspection, I divide the mission into five operational layers:
- Airframe readiness
- Power management
- Transmission integrity
- Capture consistency
- Environmental contamination control
That sequence matters. If the aircraft is dirty, overheated, or ingesting abrasive dust during repeated takeoffs, your beautiful photogrammetry plan is already compromised.
The aircraft design literature in the references places unusual emphasis on environmental conditions and test categories. That is operationally significant for Inspire 3 users because dusty shoreline work behaves like a field reliability test every single day. You are repeatedly exposing motors, connectors, landing gear, sensors, and batteries to fine particulates and corrosive air. So the question is not whether the mission can be flown. The question is whether it can be flown again tomorrow with the same confidence.
Step 1: Control dust before the propellers even start
Most coastline teams lose the cleanliness battle on the ground.
A dusty staging area can contaminate the aircraft before takeoff. I prefer to establish a clean prep zone away from vehicle traffic, then use a folding landing pad with raised edge structure to reduce recirculated grit. One third-party accessory that genuinely improves this workflow is a hooded monitor shade for the RC Plus-style control display setup or external monitor rig. In coastal glare, it reduces pilot eye strain and helps the camera operator verify exposure and focus without pushing brightness to the limit. That matters more than people admit, especially over reflective water and pale sand.
For landing and battery changes, I also like a portable elevated drone table. It sounds basic, but in dusty inspection corridors it reduces exposure during hot-swap battery cycles. The value is not convenience. The value is contamination control.
This is where the reference to environmental stress screening becomes meaningful. In formal reliability design, stress screening helps reveal weakness early. In the field, dust does that for free. If your handling process is sloppy, the environment will identify every weak point in your operation.
Step 2: Use hot-swap batteries intelligently, not lazily
Hot-swap batteries are one of the Inspire 3’s biggest practical advantages on linear inspection jobs. You can keep mission flow moving, especially when the corridor is long and the crew has narrow weather windows.
But hot-swap capability often encourages rushed behavior. That is a mistake.
The avionics source material repeatedly frames aircraft monitoring around quantifiable thresholds and warning states. The operational lesson is obvious: do not wait for a limit event to begin managing resources. For Inspire 3 missions, that means setting battery swap triggers before they become urgent, especially in headwind return legs over exposed shoreline.
On a dusty coastline route, I recommend a stricter battery discipline than crews use for inland cinematic flights. Segment the route so each leg ends with reserve for wind shifts, go-arounds, and repositioning. If the aircraft is collecting overlapping imagery for photogrammetry, avoid stretching the pack to “finish the pass.” Inconsistent speed or rushed final segments can degrade overlap quality and create holes in the model.
Hot-swap is best treated as a reliability tool, not a range extension trick.
Step 3: Protect transmission quality like it is part of the sensor suite
People think of O3 transmission as a control feature. For inspection, it is also a data-confidence feature.
In dusty coastal environments, you are often dealing with long sightlines, reflective surfaces, and infrastructure that can complicate signal behavior. If your downlink degrades, the immediate risk is not just pilot inconvenience. You can miss subtle visual cues in revetments, seawalls, drainage outfalls, or slope failures.
That matters even more when you are evaluating thermal signature differences around moisture intrusion, heat-retaining materials, or recently exposed surfaces. The aircraft may still be flying correctly, but the operator’s ability to interpret conditions in real time can be compromised by a poor live view.
For teams operating on sensitive commercial infrastructure, AES-256 data security also matters. Not as a marketing bullet, but as part of a professional chain of custody for inspection data. If the mission involves industrial clients, ports, utilities, or protected private assets, encrypted links and disciplined data handling are part of the service standard.
Step 4: For coastline mapping, consistency beats dramatic flying
The Inspire 3 is capable of beautiful motion. Inspection clients do not care.
When the mission includes erosion tracking, shoreline condition baselining, or structure documentation, your job is to produce repeatable data. That means predictable altitude, deliberate overlap, stable gimbal behavior, and documented GCP usage where survey-grade repeatability is required.
A lot of teams say they do photogrammetry, but what they really do is collect attractive imagery that software happens to accept. On coastlines, that shortcut gets exposed. Sand texture can be repetitive, water edges shift, and reflective surfaces confuse reconstruction. Good Photogrammetry from an Inspire 3 platform depends on mission design discipline more than aircraft prestige.
If I need a model that will support engineering review, I set clear separation between three capture modes:
- Survey grid capture for measurable reconstruction
- Oblique structure passes for condition context
- Targeted detail shots for defect documentation
Do not mix them casually. The processing pipeline becomes cleaner, and the client gets a dataset that actually supports decisions.
Step 5: Account for the environment as if it were a subsystem
One of the strongest ideas in the reliability reference is that environmental conditions are not background noise. They are a design driver. The table-of-contents material points to natural environmental conditions, environmental test categories, and environmental stress screening as structured engineering concerns.
That is exactly how an Inspire 3 crew should think about coastline inspection.
Dust and salt are not annoyances. They are active inputs into mission risk.
Operationally, that means:
- Inspect motor areas and folding interfaces after each sortie block
- Check cooling paths and exposed surfaces before every hot-swap cycle
- Keep lens and sensor cleaning procedures controlled, not improvised
- Store batteries and optics in sealed cases when the aircraft is idle
- Rotate ground roles so one crew member owns contamination control
The crews that do this well tend to have fewer mysterious issues later: fewer intermittent connector faults, fewer thermal warnings, fewer degraded gimbal behaviors, fewer rushed troubleshooting sessions onsite.
Thermal work near shorelines needs stricter interpretation habits
If your Inspire 3 workflow includes thermal payload integration or parallel thermal surveying in a broader inspection stack, be careful with shoreline assumptions. Coastal surfaces store and release heat differently depending on moisture, cloud cover, tidal state, and material composition. A thermal signature anomaly may indicate a real issue, or it may simply reflect environmental timing.
This is another reason reliability thinking matters. You want your aircraft, payload, and capture process to be stable enough that interpretation errors come from the scene, not from the platform.
I usually advise teams to log three things every time they capture thermal-adjacent inspection data:
- recent weather trend
- surface moisture condition
- sun angle relative to the inspected face
That turns the flight from image collection into evidence collection.
BVLOS conversations should start with procedure, not distance
Some coastline clients immediately ask about BVLOS because their assets run for miles. The right answer is procedural, not promotional.
The Inspire 3 has the transmission and imaging quality to support serious corridor workflows, but BVLOS suitability depends on airspace, approvals, safety case design, observer structure, communication architecture, and local regulatory requirements. For many commercial teams, the smarter path is to perfect segmented VLOS operations first. Once your reliability, capture discipline, and crew roles are proven, expansion becomes much easier.
That progression mirrors the reference material’s logic around reliability growth. Systems become trusted through structured testing, controlled conditions, and refinement. A coastline operation should mature the same way.
A practical dusty-coastline workflow for Inspire 3 crews
Here is the field sequence I trust most:
1. Site setup
Choose a launch point offset from traffic and loose sand. Build a clean zone with sealed cases, landing surface protection, and a battery change station.
2. Environmental check
Assess wind trend, airborne particulate load, glare severity, salt exposure, and fallback landing areas.
3. Aircraft prep
Inspect props, landing system, cooling paths, sensor glass, and battery seating surfaces. Confirm transmission settings and recording configuration.
4. Route segmentation
Break the coastline into manageable legs with reserve margins. If mapping, define overlap targets and GCP positions before launch.
5. Capture discipline
Fly each segment consistently. Separate survey, oblique, and detail capture profiles. Do not improvise cinematic moves mid-grid.
6. Turnaround routine
Use hot-swap deliberately. Clean contact surfaces as needed. Review sample frames before relaunch, especially in dusty glare.
7. Post-flight contamination control
Wipe down exterior surfaces, inspect vulnerable openings, and document any heat, signal, or stability anomalies before packing.
That routine sounds conservative. Good. Inspection work should be.
Why this matters more than spec-sheet enthusiasm
The source material behind this article may come from traditional aircraft design references, but the lesson fits the Inspire 3 perfectly. One document emphasizes instrument ranges and warning thresholds, including details like 0 to 4000 kg measurement spans and low-level alerts at 500 L and 353 L. Another organizes reliability around redundancy, derating, natural environmental conditions, and environmental testing. In operational terms, those details remind us that performance is only useful when paired with trusted monitoring and disciplined tolerance management.
For an Inspire 3 operator inspecting dusty coastlines, that translates into a simple truth: the aircraft is capable, but capability alone does not produce dependable inspection outcomes. Reliability habits do.
If your team is refining that workflow and wants to compare field setups, payload strategy, or coastal mission planning choices, you can message our drone specialists here.
The crews who get the best results with Inspire 3 usually are not the ones chasing the most dramatic footage. They are the ones who treat each mission like a repeatable aviation task: defined margins, controlled handling, clean data, and respect for the environment.
That is how you turn a high-end UAV into an inspection instrument.
Ready for your own Inspire 3? Contact our team for expert consultation.